Companies like Best Buy as well as your local computer stores and computer support freelancers will charge you for PC “Optimization” or “Tune-Ups”, but the process is not a difficult one and you can do it on your own free of charge. All it takes is a few minutes of your time and a little bit of caution. Read on to learn how to do it yourself without spending $50 to $100 dollars a pop.
what is a pc tune-up?
A computer, like your car, will perform at its best with regular maintenance and by practicing safe habits. Over time your computer will end up with unnecessary software programs, excessive temporary files, mostly useless browser bars, and a laundry list of programs that load when your computer starts up that end up slowing everything down and taking away from your enjoyment of actually using the thing.
By uninstalling those programs, deleting the temporary files, disabling and uninstalling the browser bars, disabling the programs from loading at start up, and by updating your system software, you can keep your computer running smoothly and keep it more secure. It also helps to keep your computer and peripherals physically clean, however that’s an article for another time.
removing unnecessary software
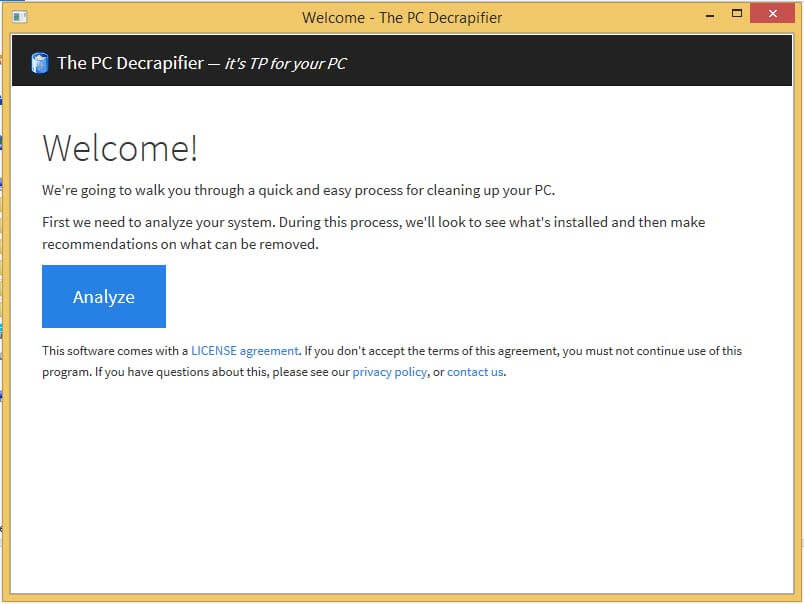
When you buy a new PC there is a lot of very large, feature packed, resource intensive software installed by the manufacturer, most of which you will never use. This kind of bloated software is called “bloatware”. And overtime a lot more software gets downloaded and installed, sometimes unintentionally, during the day to day use of your PC. After a while your list of installed programs becomes pretty cluttered. A lot of this stuff is completely unnecessary, rarely used, and mostly just slows down your computers performance. Thankfully you can get rid of it pretty easily by downloading and running a free program called PC Decrapifier. As the name suggests, it helps you remove all of the accumulated crap.
After downloading and running the program you’ll be greeted with a welcome screen and a single button that says Analyze.
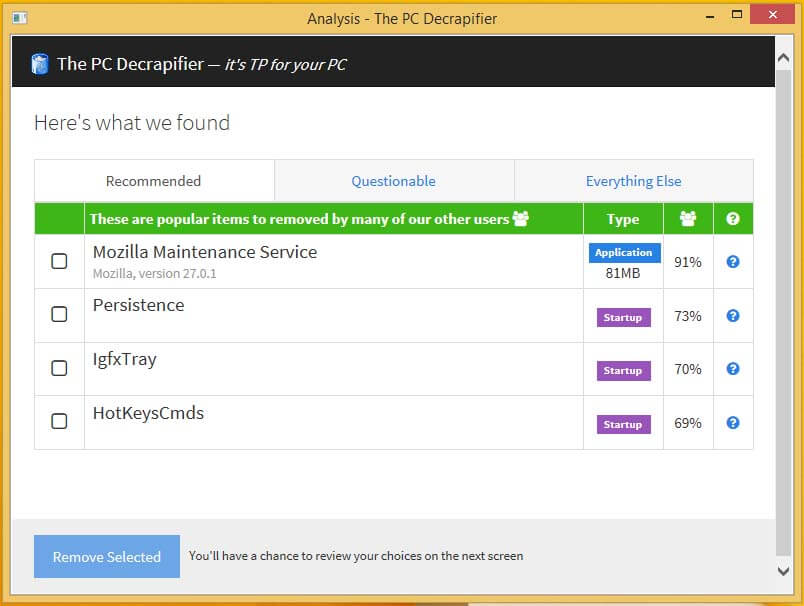
Upon clicking that button, the program will scan your system and return a list of results of known bloatware.
To be thorough you should run a Google search of each item to find out what it is and what it does, particularly if it’s something you’re not sure about, but generally you can trust and remove it’s recommendations.
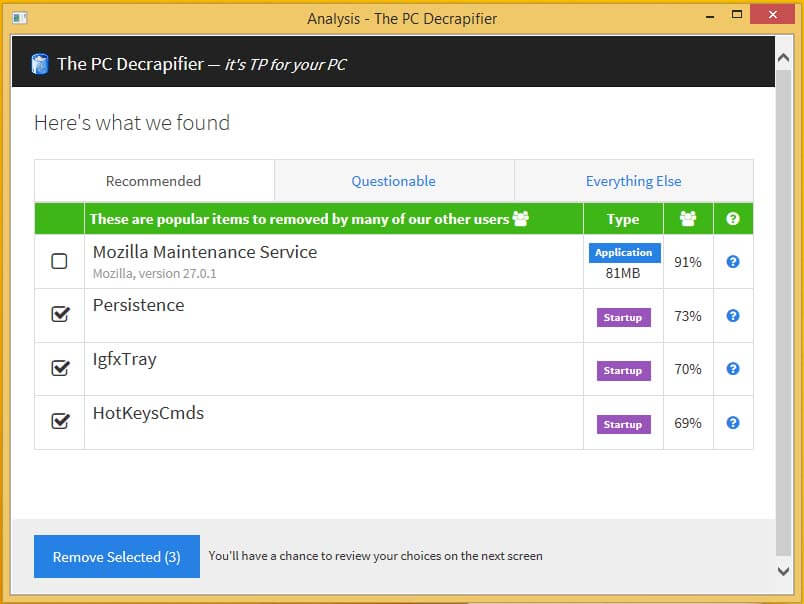
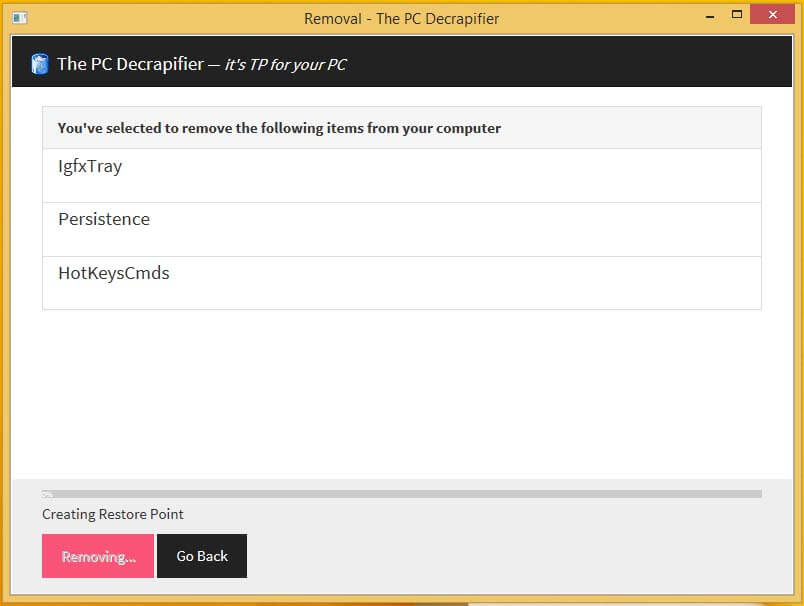
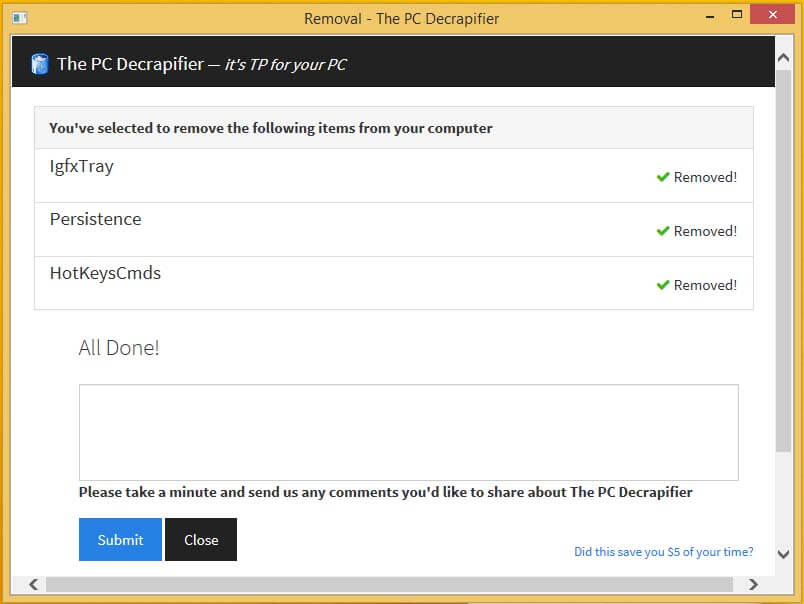
After you’ve check marked the programs you want to remove and hit Remove Selected, it will begin removing the software.
When it’s finished it will show you a completed summary and request any feedback you have, which isn’t required.
removing temporary files
As you use your computer, your system accumulates a lot of temporary and junk files and this can steal away some of your precious hard drive space. So to combat this the next tool you are going to want to run is CCleaner. It scans your system for all of the unnecessary junk files and helps you remove them.
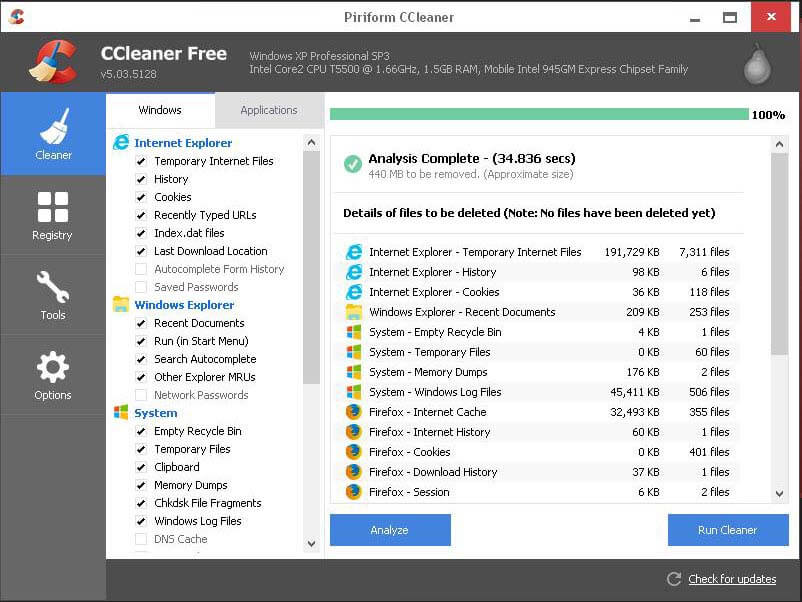
After you download, install, and run the program you will be greeted with the following window, defaulted to the Cleaning tab.

Click the Analyze button and after a moment it will display a list of results of junk files and how much space they take up.
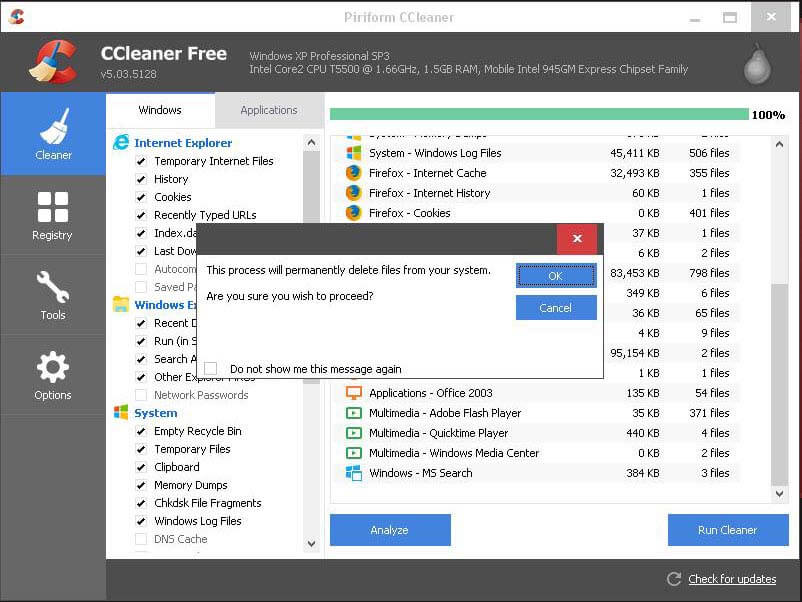
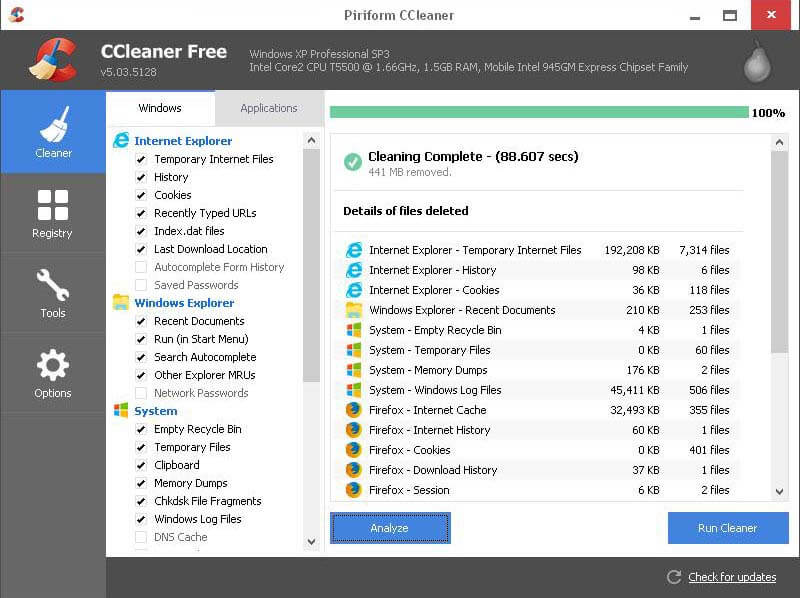
When you click the Run Cleaner button a pop up will warn you that you are about to permanently delete files. Click OK and after a few moments a completion status will be displayed.
removing startup programs
The number of programs you have loading into the background as your system loads Windows can both make Windows load slowly and make your system run slowly. And it is not uncommon for people to have 10 to 20, or more, programs loading as Windows starts up. I have actually seen systems with more than 60 programs loading at startup and those systems just limp along. Thankfully CCleaner also makes disabling these programs a breeze as well.
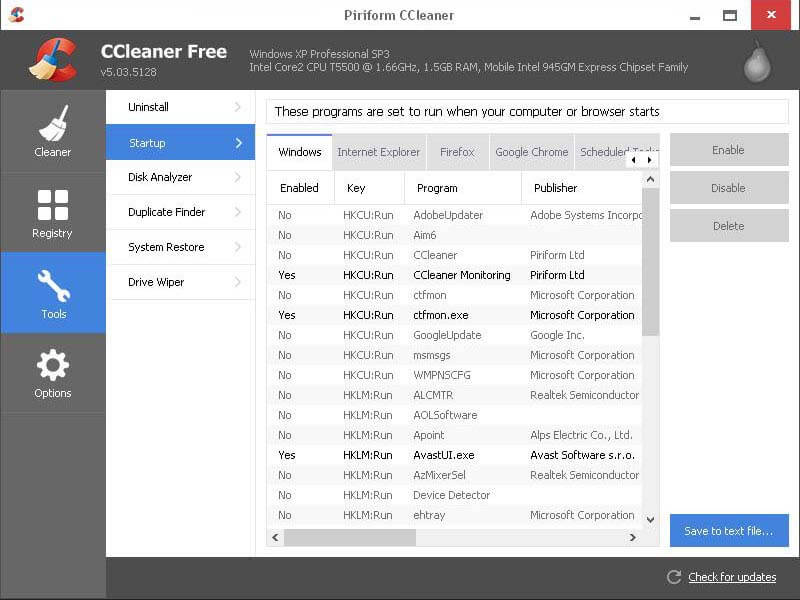
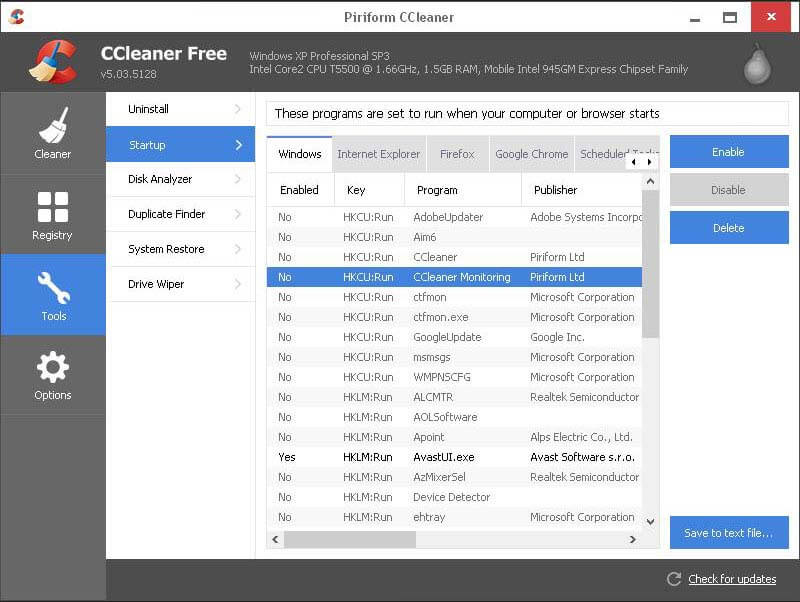
Under the Tools tab, when you click on Startup you will see a list of the programs that load when Windows does. The vast majority of these are unnecessary however some are useful and or important. You don’t want to disable your Antivirus program for instance. Again this is an area where you will want to be thorough and Google the name of each program or file name just to make sure it is wise to disable it.
registry cleaners and disk defragmenters
Contrary to some beliefs, there isn’t any evidence that cleaning your registry will provide any performance gains even though there are a multitude of programs that offer to do it for you. Ultimately unless your registry is corrupt, you can pretty much leave it alone. And if it is corrupt, a cleaner tool will not help you. At that point you will need to either recover your system from a restore point or perform a factory recovery.
As for Disk Defragmenters, they too are unnecessary because Windows has one built in and, in Windows 7 and 8 anyway, they are scheduled to run automatically once a week.
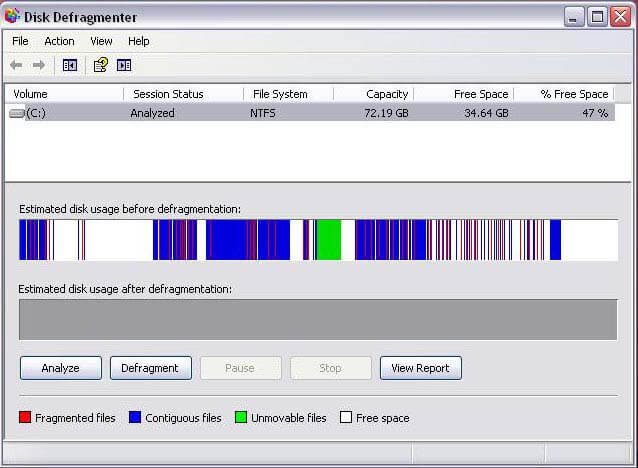
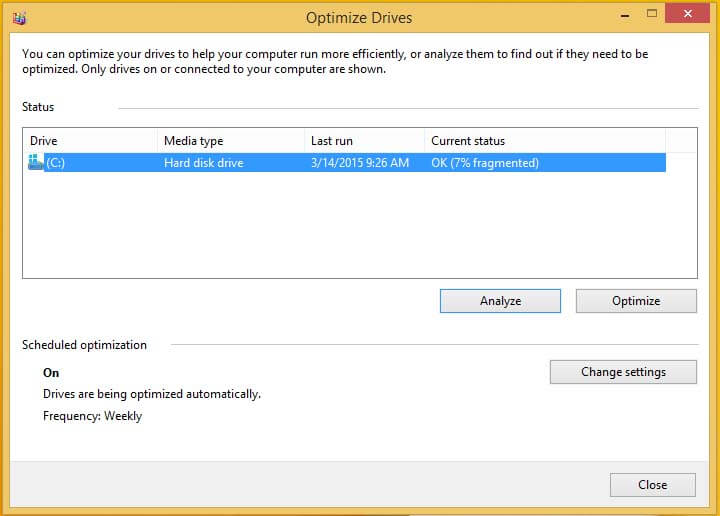
Defragmenting your disk, especially if it hasn’t been done in a long time, can speed up your computer however. So if you are running Windows XP or older, you will want to run one. Thankfully you can also set the defragmenter to run on a weekly schedule as in Windows 7 and 8. If you’re running XP read on to learn how otherwise just skip to the next section.
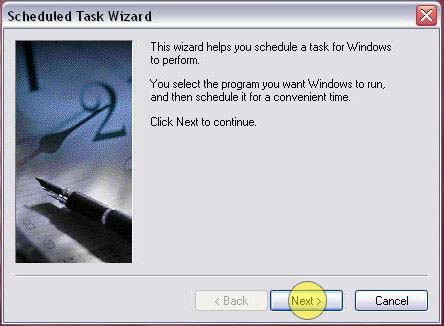
Click the Start button, highlight the Control Panel, highlight Scheduled Tasks, and click Add Scheduled Task. When the wizard comes up, click on Next on the first screen and on Browse on the second screen.
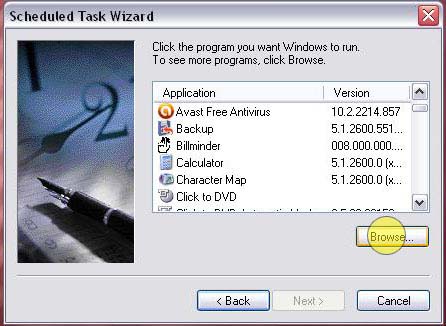
When the next window opens, type %systemroot%\system32\defrag.exe into the File Name field and click Open. That will bring up a window where you can name the new task and schedule it to run weekly before clicking Next.
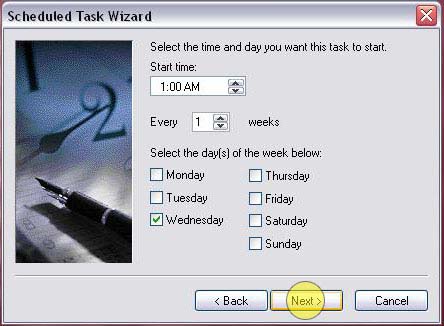
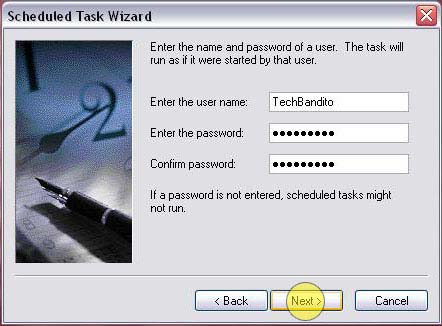
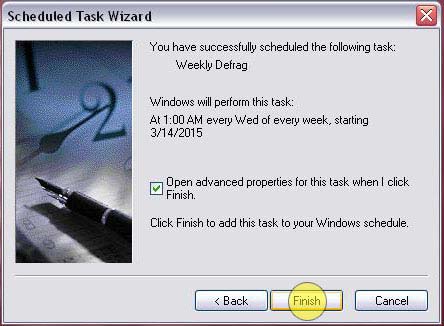
The next window lets you choose when the defrag should run. I’ve set it to 1:00 am on Wednesdays to match the Windows 7 & 8 schedule, but you can set it for whatever you want. Click Next and you will be prompted for your password before you can click Next again. And then on the final window be sure to check the box marked Open advanced properties and click Finish.
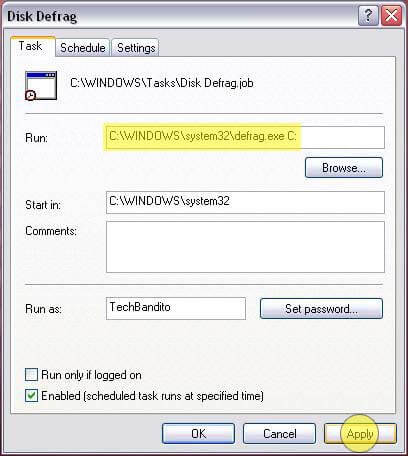
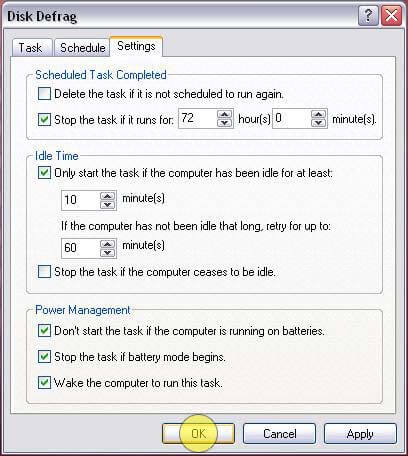
Finally, when the Advanced Properties window opens, click in the Run field after defrag.exe, click the space bar, and type C:. Then click apply. Next click on the Settings tab and check the boxes marked Only start the task if the computer has been idle and Wake the computer to run, then click OK. You will be prompted for your password once more.
That’s it. From here on out your system will run the defrag in the background every week.
updating windows
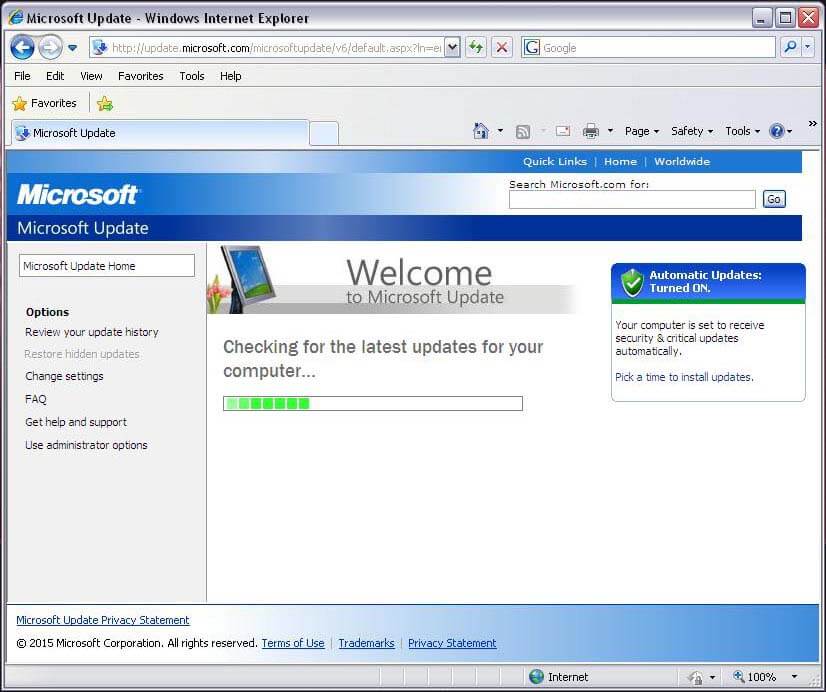
Keeping Windows up to date is critically important and updates are released regularly that address bugs and patch security vulnerabilities. Most systems are already setup to receive updates automatically so that you don’t have to worry about keeping your system updated. However even if you have things setup to run updates manually, doing so could not be easier. Simply open the Control Panel, click on System and Security, and click on Windows Update. Then click on Check for Updates and install whatever updates are listed. You may have to reboot one or more times during the process.

You may also see a series of Optional Updates listed that include less important updates to software and drivers. It doesn’t hurt to install these as well.
running a virus/malware scan
Scanning your PC regularly for viruses and malware is equally important to keeping your system secure and running at it’s best, if not more so. And while Microsoft makes it easy with their built in Microsoft Security Essentials program, called Windows Defender in Windows 8, it really isn’t the most effective tool for keeping you safe. Thankfully there are a great deal of free tools available to replace it.
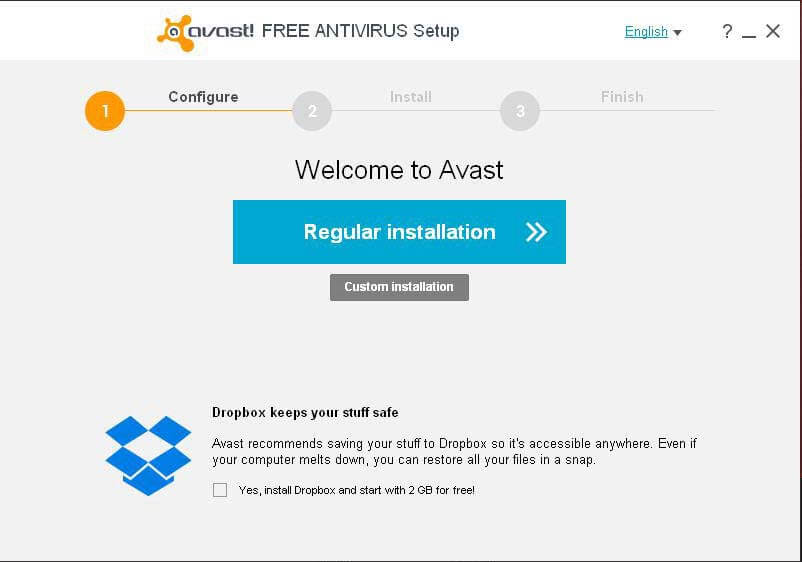
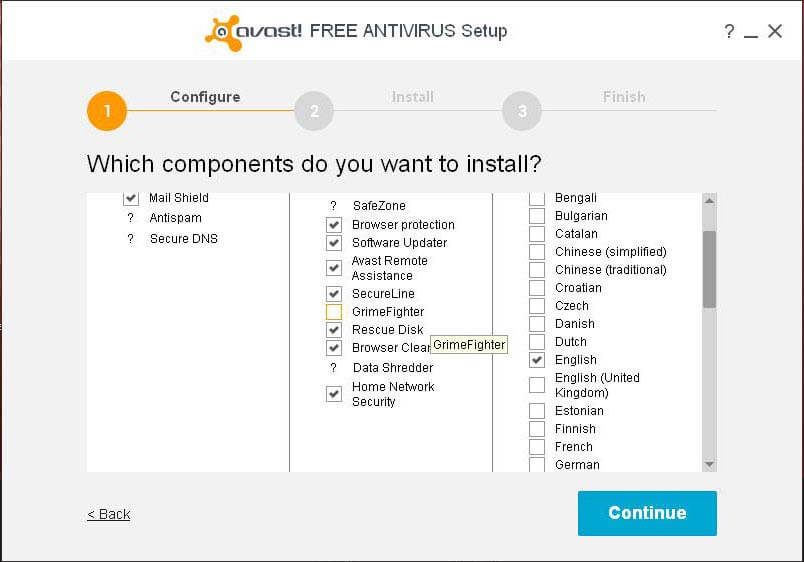
A Google search of “best antivirus software” will pull up numerous articles and recommendations for different free and paid programs and their rankings in independent testing. And while each of them have their strengths and weaknesses, and everyone has their personal favorite, one of the most popular is Avast! Free Antivirus. Avast is a very solid tool but you need to take care when installing it to make sure that you don’t agree to also installing Dropbox and Grime Fighter for instance. Additionally while the interface is simple and easy to use, the advanced options are a much more confusing experience for the non-technically inclined. You can learn more by reading this short review at Life Hacker.
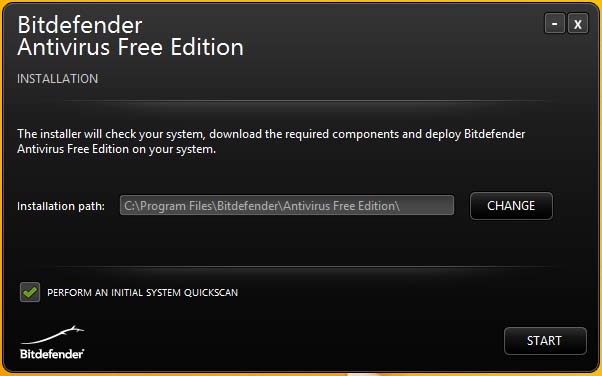
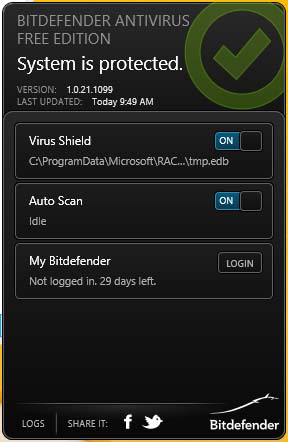
My personal favorite, which is a paid program, is ESET NOD32 Antivirus. I’ve been using it for well over 10 years and it is lightweight, scores well in independent testing, and provides fantastic protection for $40 a year. That being said, as long as you practice safe browsing habits there really is no reason to pay for virus and malware software and you will be well served with something like Avast, Bitdefender, or 360 Total Security.
Whichever antivirus program you choose make sure that it is the only one you have running in the background. The Microsoft solution is disabled automatically by installing a replacement. Different antivirus programs don’t play well together while running and can interfere with each other enough to prevent you from being protected securely, create system instability, and even cause crashes and freezes. Now that doesn’t mean you can’t have multiple programs installed for when you want a second opinion on an infection, it just means that only one should be running in the background at any given time.
For instance, it doesn’t hurt to supplement your program of choice with a weekly manual malware scan using Malware Bytes, just as long as it isn’t set to run in the background.
final thoughts
While others will provide lofty claims about all the things they do to tune-up your PC, at the end of the day most of it is the equivalent of Snake Oil. By simply following the tips outlined above on a somewhat regular basis you can keep your PC performing at it’s best without spending a dime.
The one caveat I will leave you with is that these tips will only help with a PC that is not already infected with particularly stubborn viruses and malware. If your system is compromised then some of those infections can prevent or undo the actions you take and your system will need to be disinfected beforehand. I will try to cover how to do that in another article sometime in the future.
Leave A Comment